St Patrick's Day Craft
- Claire
- Feb 26, 2021
- 4 min read
Fill your home with adorable St Patrick's Day décor, handcrafted by you, with an all-inclusive DIY Art Kit from Three & Me. It's all you'll need to keep the leprechauns in your home, office or classroom amused and out of troublesome shenanigans! Or even better... bring in all your hooligans to paint with you!

Your DIY Art kit will contain all the materials and tools to create 4 unique wooden signs. Order your kit here.
The DIY Art Kit:
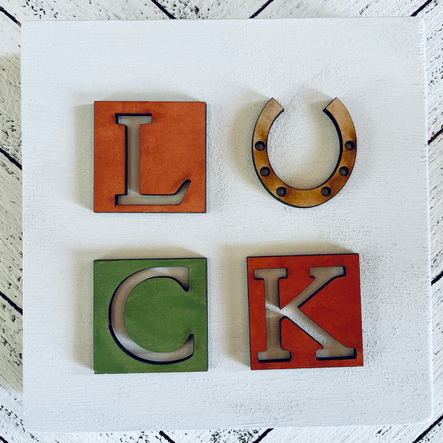
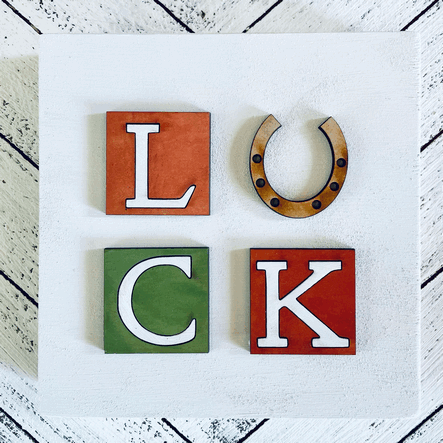
1x 6" block with raised luck squares and horse shoe
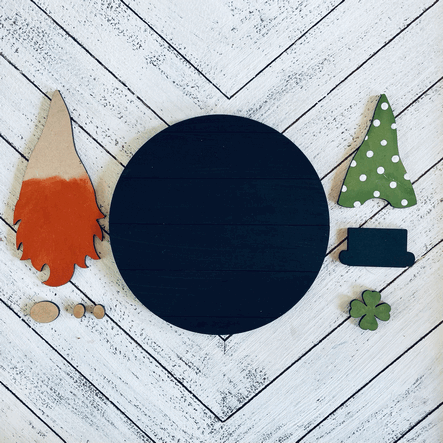
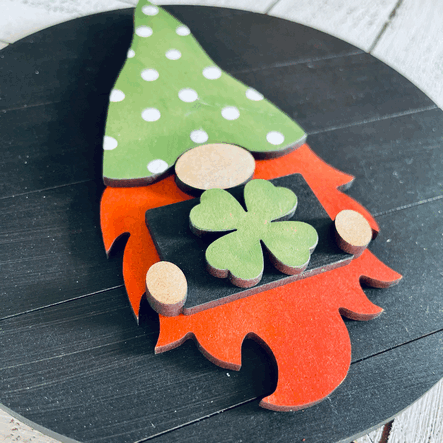
1x 6" shiplap round with 3D wood leprechaun
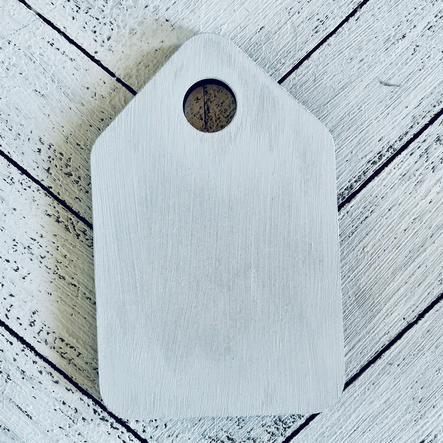
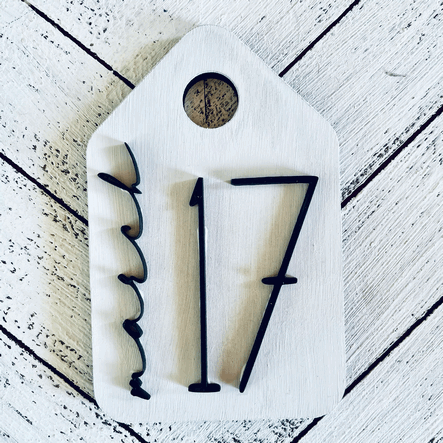
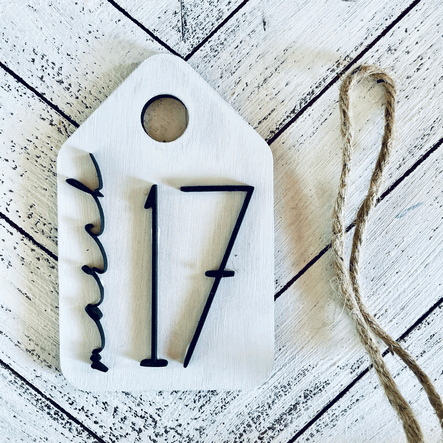
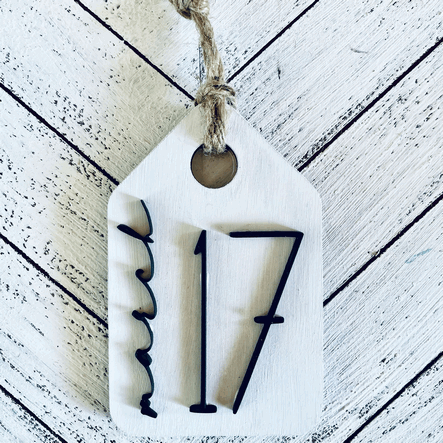
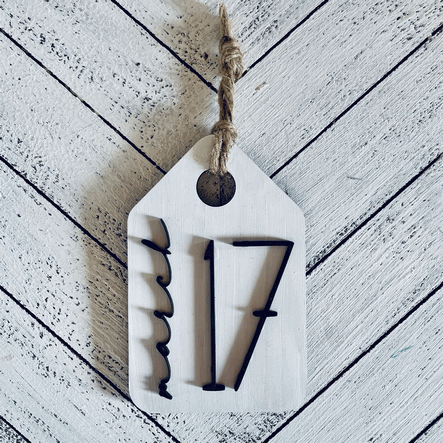
1x 4.75" wood tag with string and March 17 lettering
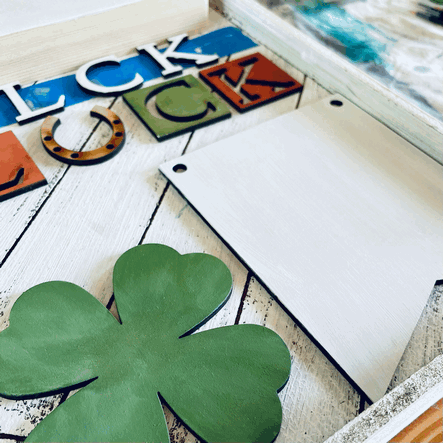
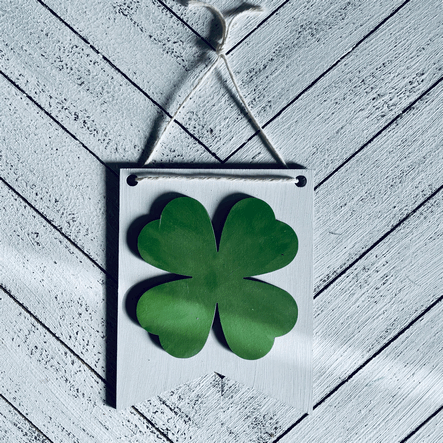
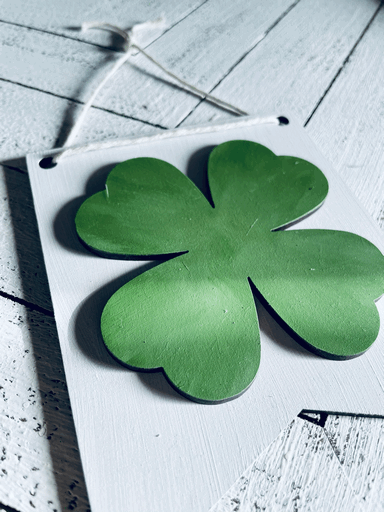
1x 5" wood banner with wood shamrock and string (optional: add multiples to create a longer continuous banner of shamrocks)
paints in white, black, orange and green - for additional paints see here
1 sponge brush
1 mini detail brush
2 sponge wedges
Additional supplies:
paper plates
paper towels
glue for wood cut outs where applicable- I recommend Aleene's Turbo Tacky Glue
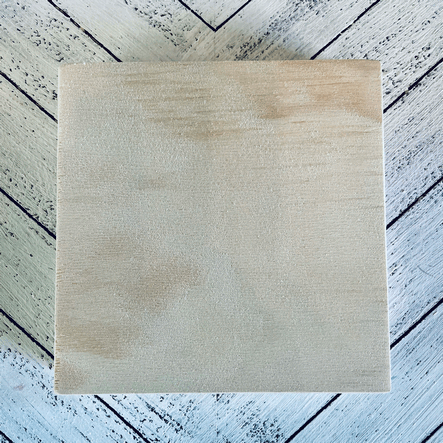
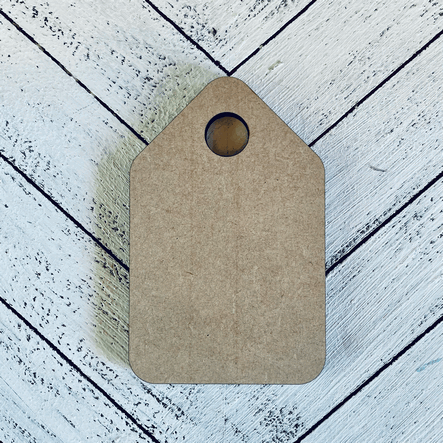
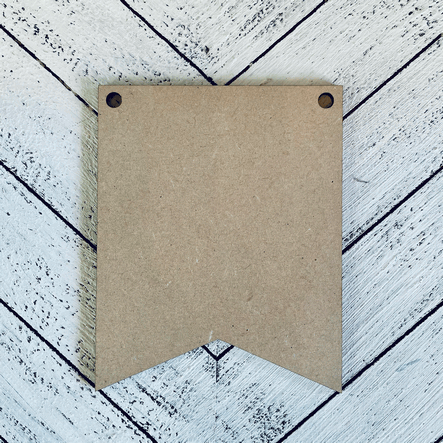
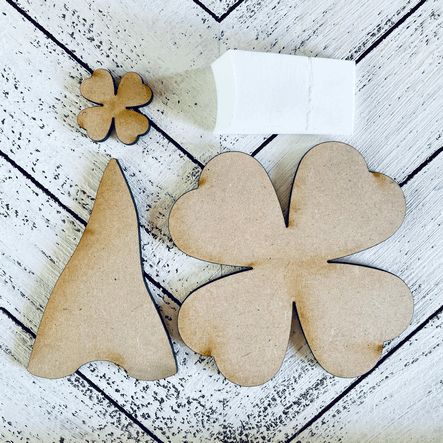
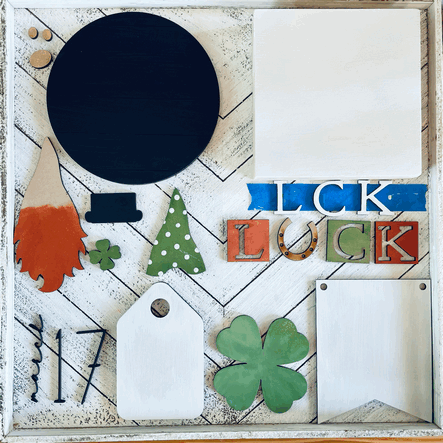
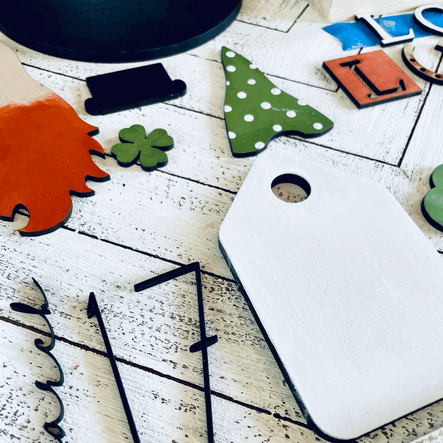
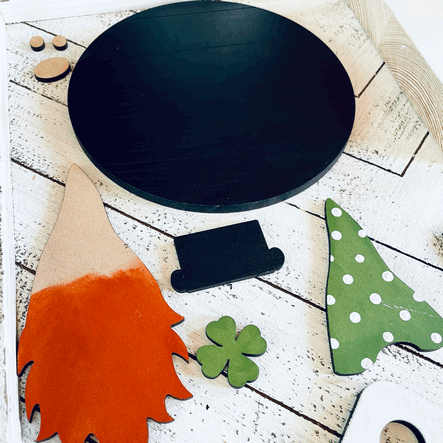
These are the unpainted wood elements in your kit:

Get comfortable. Grab a snack and let's get the shenanigans started!
Set out your 4 sets, so you have a roadmap of where you're going.

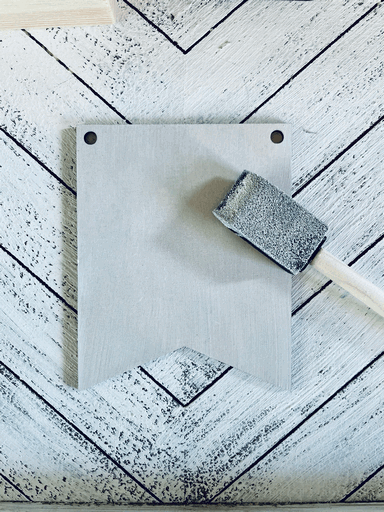
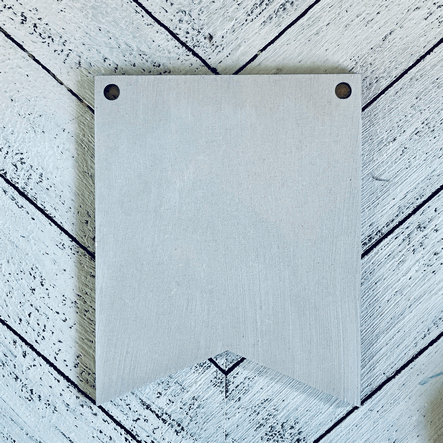
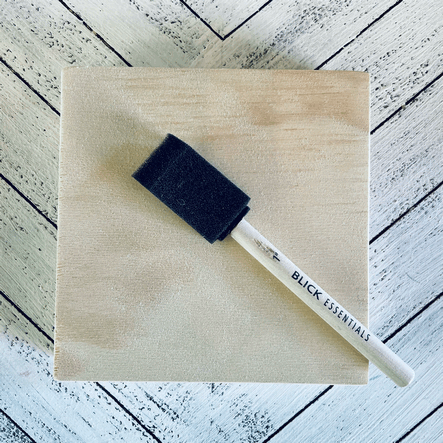
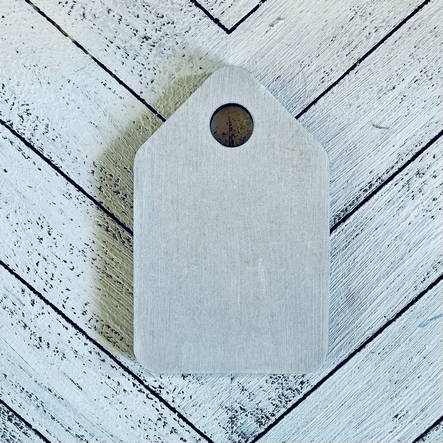
We'll start off painting these 3 pieces in white.
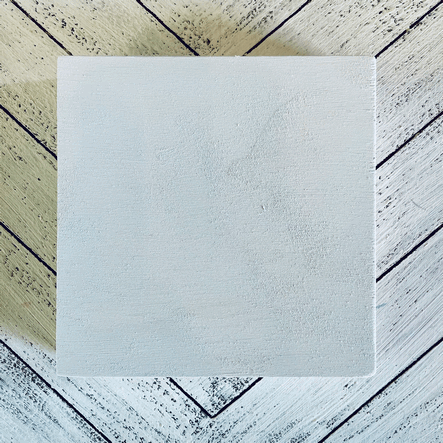
Sand your wooden block for smoother edges.
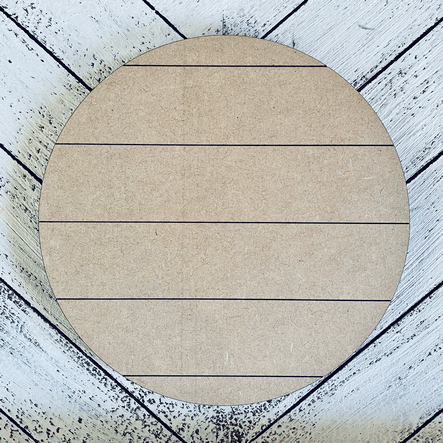
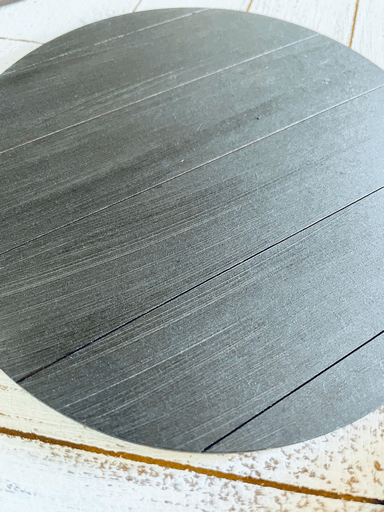
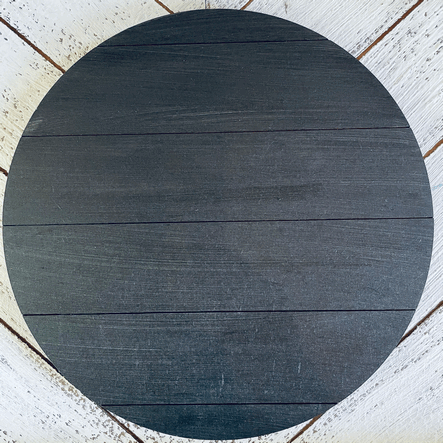
You can also paint your shiplap round in white if you prefer. Scroll down to see an example of it in black or white.
This is what your shiplap rounds will look like in white or back:


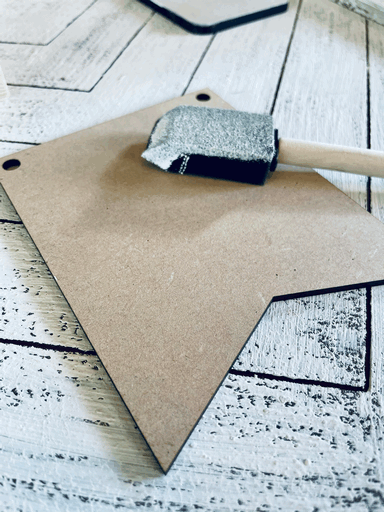
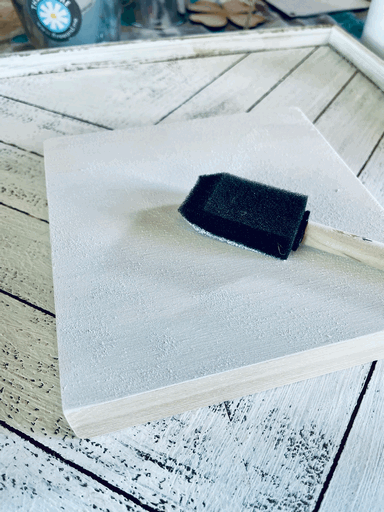
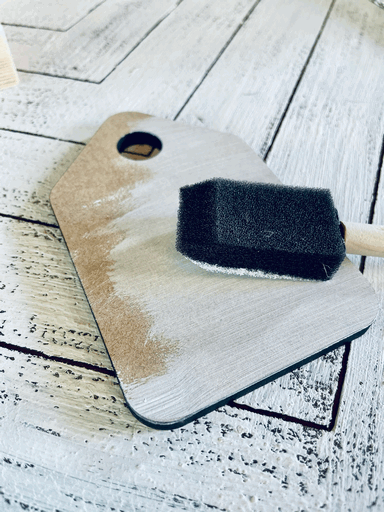
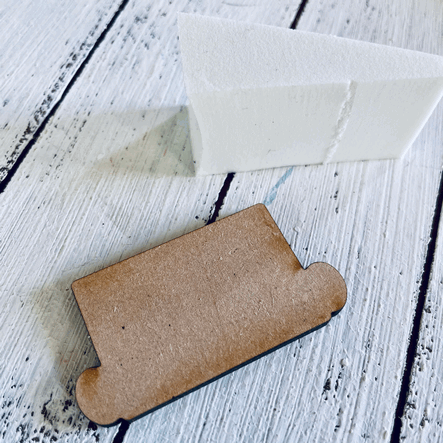
Use the sponge to apply a thin layer of paint to your shapes. Do not use too much paint, as it will run over the edges of your tags and look messy.
For a whitewashed look, you'll only need 1 layer of paint
For a more solid color finish, apply as many coats as you need until you get the desired coverage.
Less is more! Rather paint a few coats, drying in between, than 1 that is too thick.
Set aside to dry.
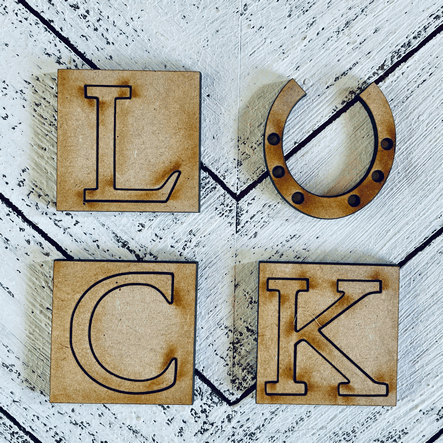
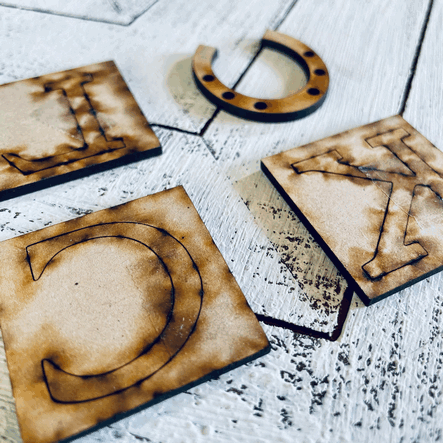
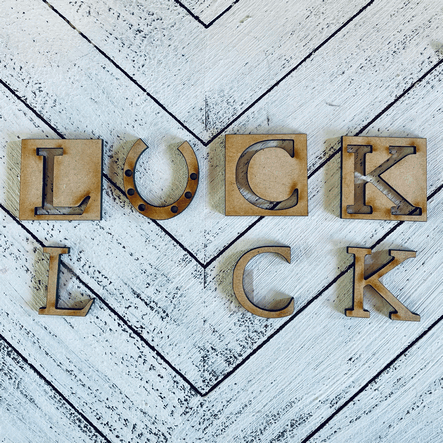
Your luck squares, will have tape on the back side, to keep the cut out letters in place. Remove the tape and separate out your letters from your squares. This will give you a professional finish to your painting!

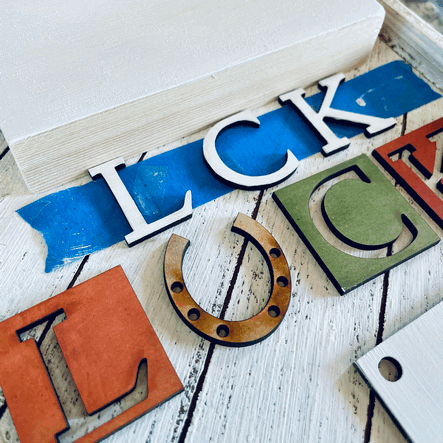
To make it easier to paint your small pieces, attach them to a piece of masking or painters tape.

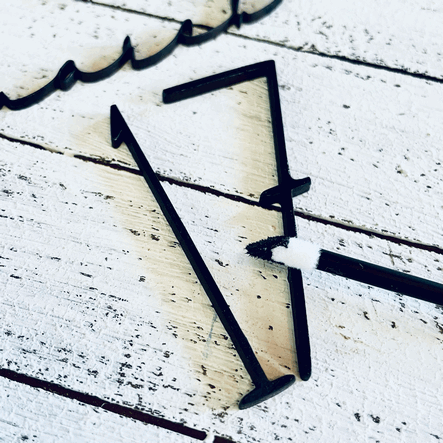
Use the fine detail brush or sponge wedge to apply a small amount of paint to your letters.
Let them dry.

Apply a second coat for more coverage. Set aside to dry
Use the cleaned and dried sponge brush to paint a thin layer of black paint onto your shiplap round.
For a paint wash effect, 1 layer with be enough.
For a more solid color, allow the paint to dry and paint a second coat.
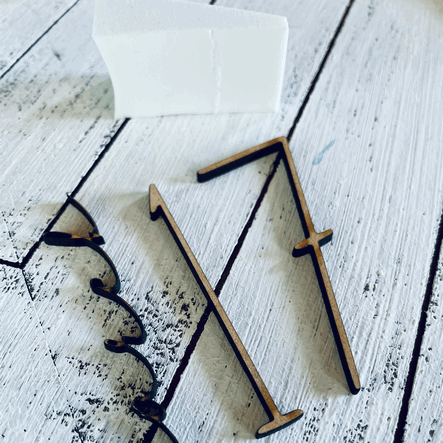
Using the sponge brush, wedge or fine brush, paint the chalkboard, March and numbers black. To minimize wastage of supplies, use the sponge brush, which already has black paint on it. You can stick the smaller items onto masking tape (as with the LUCK letters) to prevent them from moving while you paint them. They are very delicate, so be careful!
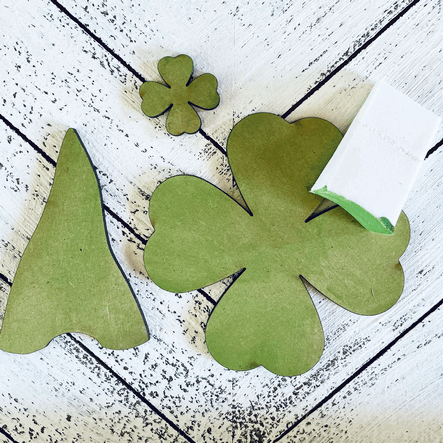
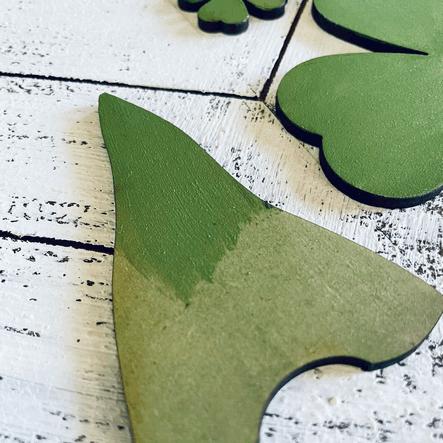
Use a sponge wedge to dab green paint onto all your green items: the hat and shamrocks. For a paint wash effect, 1 think layer of paint will be enough.
For a solid color, apply multiple layers of paint, drying in between. See the third image for contrast.

Once the hat is dry, an option is to add white dots to it. Use the back of a nail and white paint to achieve this effect.

Dip the flat end of the nail into white paint and stamp the paint onto the hat. You can work randomly or in a more defined pattern as above.
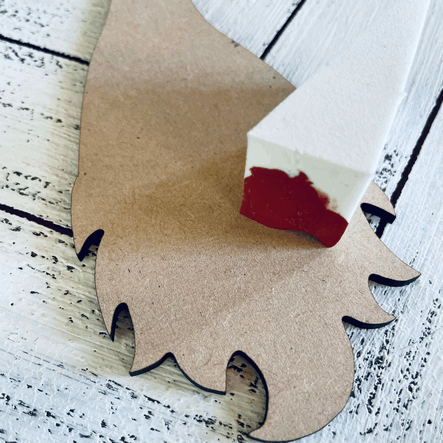
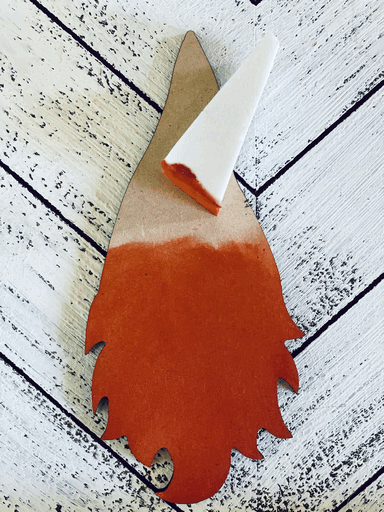
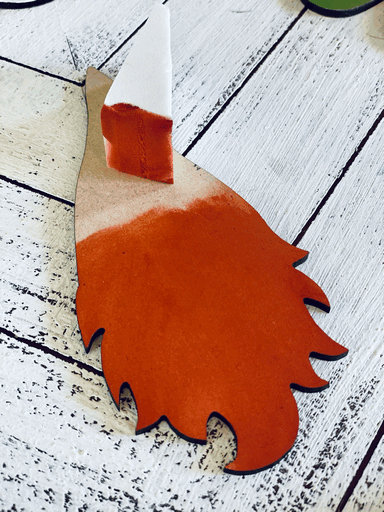
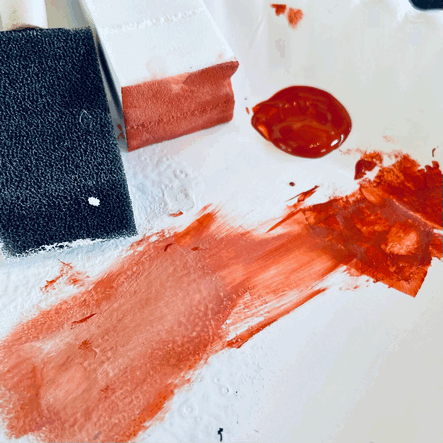
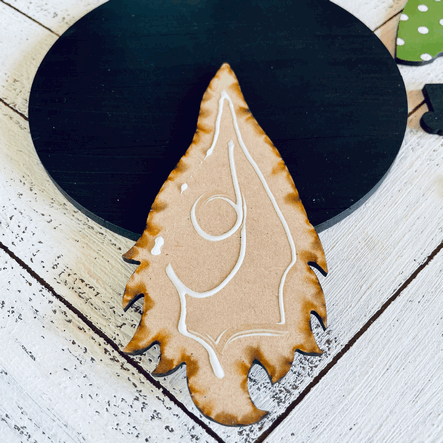
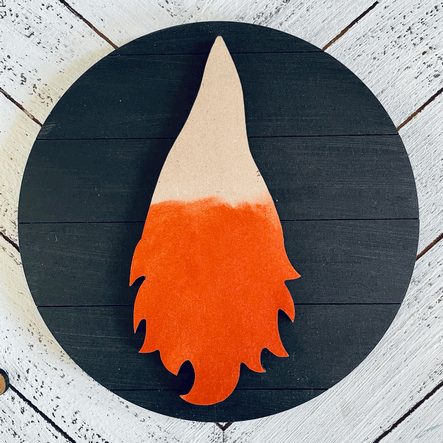
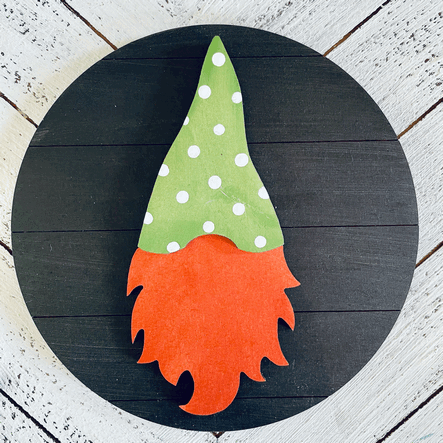
Using a sponge wedge, apply orange paint to the leprechaun's beard. You can do this in white if you prefer! You do not need to paint the whole surface. Only the beard will show underneath the hat once they are glued together.
Work in downward strokes for a more natural effect.
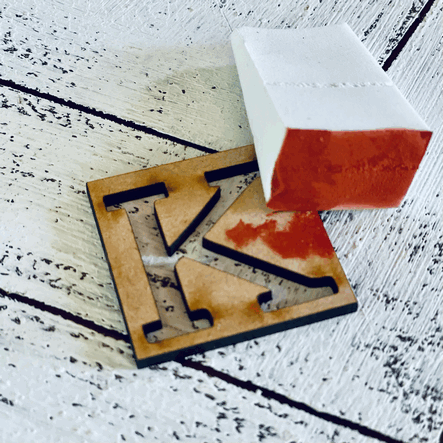
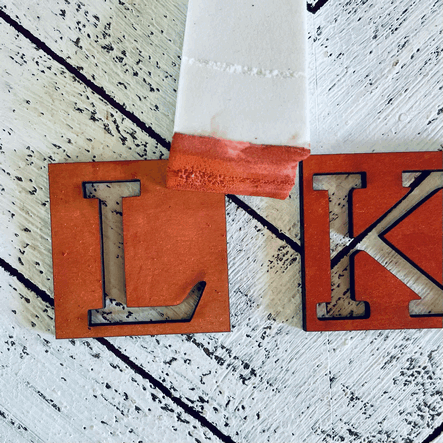
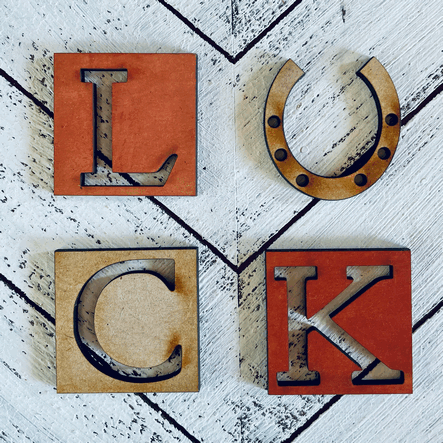
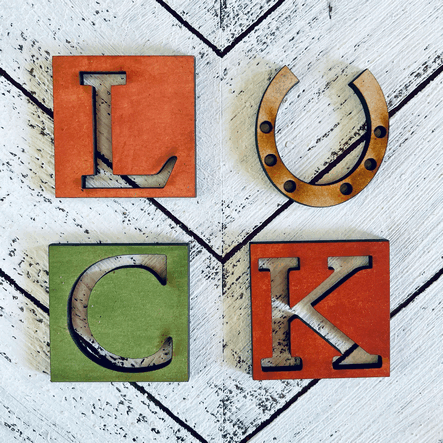
Using the same sponge wedge, color the K square in orange.
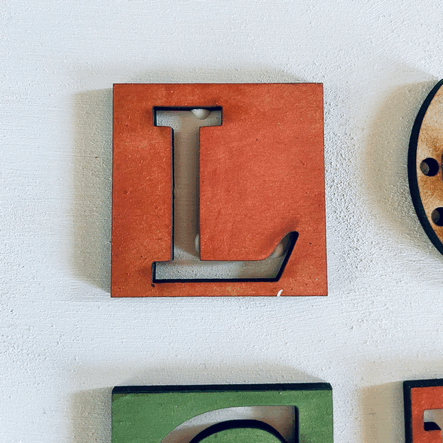
Blend the orange with some leftover white paint, for a different shade of orange to paint the L square.
You can leave the C square natural or paint it in yet a different shade of orange or use some left over green paint for a complimentary combination.
The horseshoe can be left natural or you can paint it black/ gold/ silver.
This is where you should be at. We will not be painting the leprechaun's nose and hands. I find the the natural wood adds the perfect skin color tone, but if you'd like to paint them, you can! All your elements should be painted and drying at this point. Wash your brush while you wait for paint to dry.
Let's assemble our sets!
get your glue out for this. I prefer Aleene's Turbo Tacky glue, but Tacky Glue, wood glue and superglue work too.
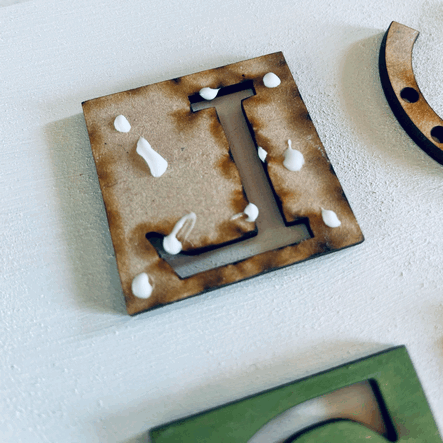
Position the luck squares on your dry block.
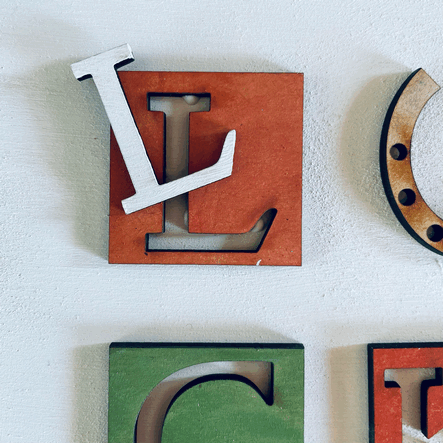
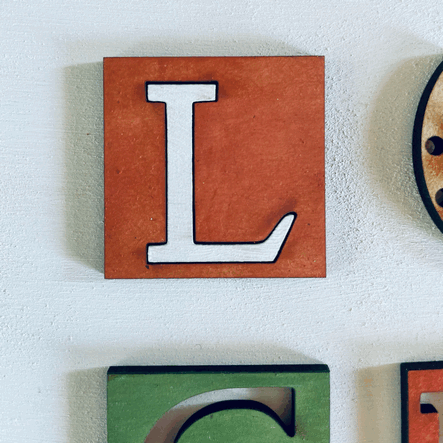
Use only a tiny amount of glue, to prevent it from squashing out the sides and messing up your beautiful paint job. Insert the painted letters into the squares and admire how professional your paint job is!
Glue all your pieces into place and allow to set.
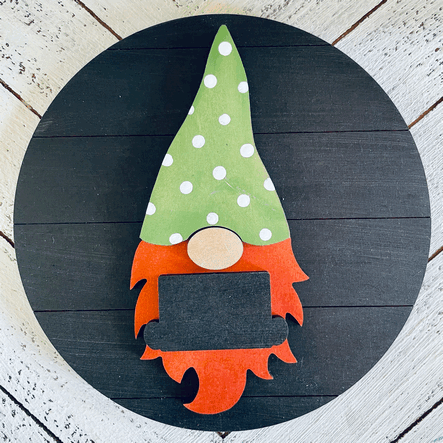
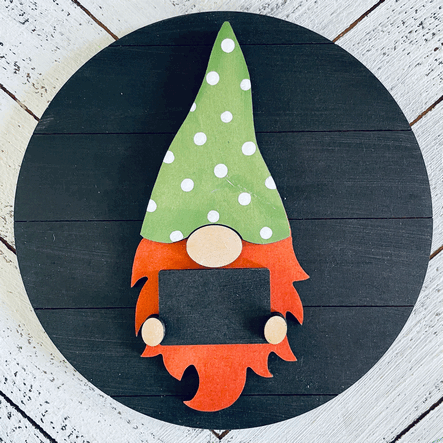
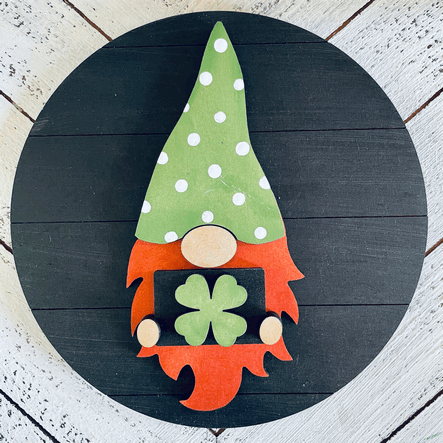
Place all your leprechaun pieces around your black shiplap circle.
Use the glue sparingly, especially when it comes to the hands.
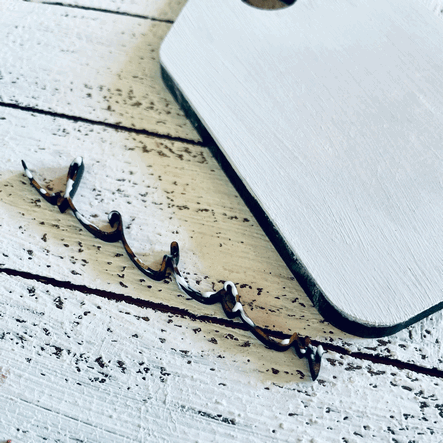
You'll need to be very careful when applying glue to the March 17 components, because they are so small and delicate. If you've applied too much glue, it may show once dry, so dab off excess glue with a paper towel if necessary.
Loop the thick piece of string through your tag and tie a knot on both ends.
apply glue to the back of your shamrock and stick it onto your banner. Loop the thinner strong through the holes and tie off at the top, if you're only doing once banner. For multiple or longer banners, loop the string continuously through all of the sets so you can hang them up on one piece.
Enjoy your sets! I hope you had fun joining me in this craft experience! Please share photos online of your projects on social media with tag @threeandme! I'd love to see how they turned out!
Have a happy St Patrick's Day!
Warmly,
Claire




Comments