Easter Collection
- Claire
- Mar 14, 2021
- 5 min read
Updated: Mar 25, 2021
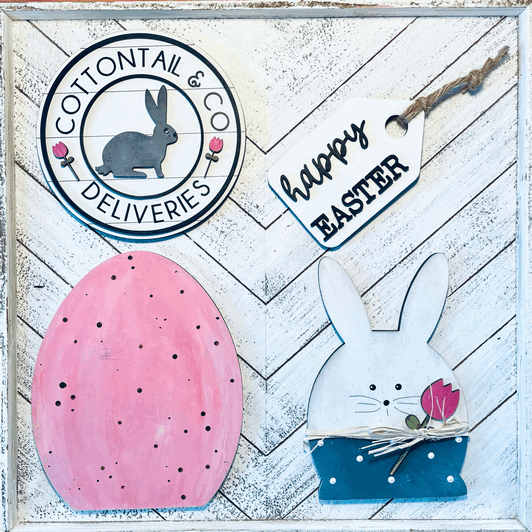
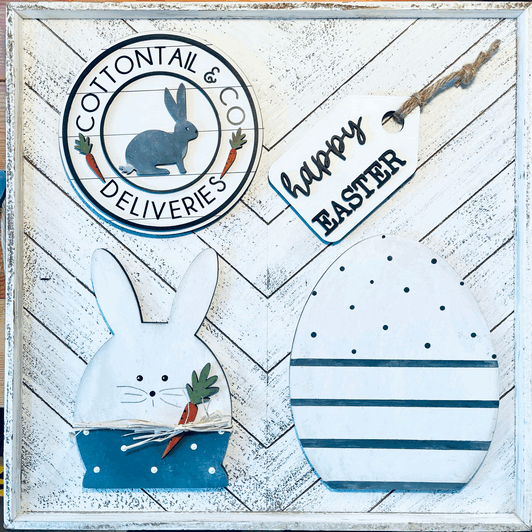
Create the most adorable Easter collection for your home, office or classroom with a DIY Art Kit from Three & Me. You may even want to let your kids join you for a craft date of making memories to last a lifetime! Display this set together on a tiered tray, shelf or mantle or separate them out to add a touch of spring all over your space. Whether you are creating this set for yourself or to gift way, it'll become an heirloom to bring back memories decades from now!

Your DIY Art kit will contain all the materials and tools to create 4 unique wooden signs.
Order your kit here.
The DIY Art Kit:
1x wood egg with stand
1x wood bunny with stand and accessories
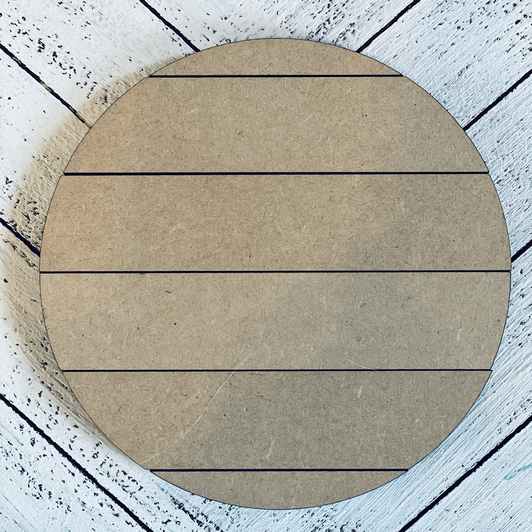
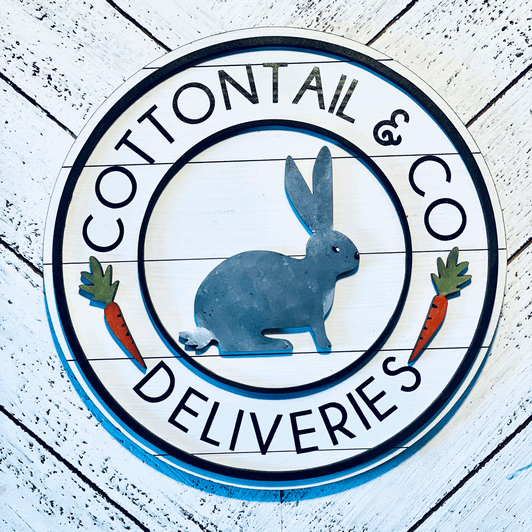
1x 6" shiplap round with wood cutouts and transfer
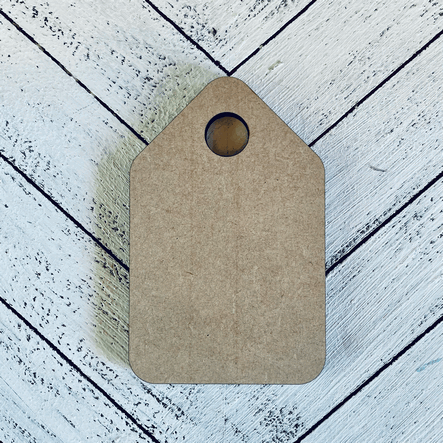
1x 4.75" wood tag with string and wood lettering
paints optional- for additional paints see here
1 sponge brush
1 mini detail brush
2 sponge wedges
Additional supplies:
paper plates
paper towels
glue for wood cut outs where applicable- I recommend Aleene's Turbo Tacky Glue
* please note that later batches of this art kit will come with self adhesive backings on the wood cutouts to negate the need for glue! Check our pieces for a smooth removable sticker backing, to assess whether or not you'll need glue.
You will either have the tulip theme or the carrot theme for your art kit. Directions below will describe techniques to paint these elements, but you are welcome to go off on your own tangent! Please share your unique collection if you do!
These are the unpainted wood elements in your kit:

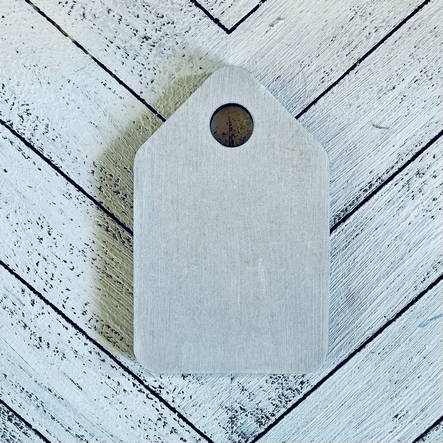
We'll start off painting these 4 pieces in white:
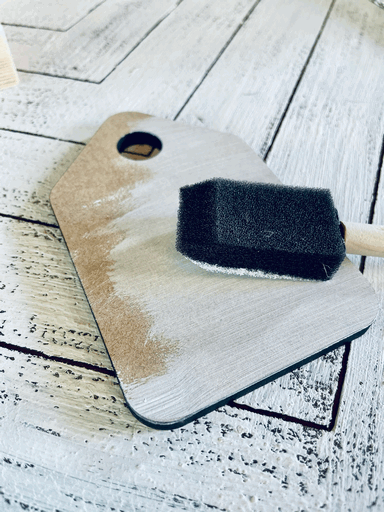
Use the sponge to apply a thin layer of paint to your shapes. Do not use too much paint, as it will run over the edges of your tags and look messy.
For a whitewashed look, you'll only need 1 layer of paint
For a more solid color finish, apply as many coats as you need until you get the desired coverage.
Less is more! Rather paint a few coats, drying between, than 1 that is too thick.
Set aside to dry.
EASTER BUNNY:
You can see a similar tutorial from a last year for full length techniques on painting the Easter bunny and Easter egg, otherwise follow written directions below.
Apply a piece of masking tape across the bunny's belly.
Using a sponge wedge, blot another paint color (I used teal in the example) to the bottom half of the bunny. Blotting gives a vintage effect, while also applying a small enough quantity of paint, to prevent running under the tape.
If you want more solid coverage, apply additional paint layers.
When dry, remove the tape.
Using the flat end of a nail, dipped into white paint, stamp dots onto the bunny's pants.

Wipe the nail clean and using the same technique, stamp 3 black dots onto the bunny's face for eyes.

With the sharp tip of the nail, apply 3 dots for whiskers on each side of the nose
OR
using a pencil, draw in the whiskers.
Tie a piece of string or ribbon around the bunny.
Glue your painted tulip or carrot under the bunny's ribbon.
A bunny with brown pants...

Optional: Insert your bunny into one of the the wood stands in your kit. Glue is if desired, but this is not essential, because the base should sit snuggly enough for your bunny to stand.
EASTER EGG:
In a previous step you painted the eg in a white base paint. This will allow additional colors to pop. But this step isn't necessary, if you want more muted colors or are planning to apply numerous coats of colored paint for a solid finish.
If you want to add patterns or stripes to your egg, you will need masking tape for stripes or a nail for dots. You can also use stamps, corks and other shapes that you may have at home. You can even use stencils with cut out patterns.
Apply a paint color of your choice over the white egg, with blotting motions to achieve a vintage look as in the blue egg below, or use the paint brush for a more solid finish.

For stripes, apply lines of masking tape and blot paint in between the lines with a sponge wedge. Use a sparing amount of paint and rather apply additional layers, than one that is too thick, as it may run under the tape.
For speckled eggs, both ends of a nail to stamp larger and smaller dots of contrasting paint onto your egg or use a dry toothbrush or heavy bristle paint bush to spray dots over the surface.
Insert your egg into the rectangular base provided. You can glue it in place, although it should fit snuggly enough not to require glue.
EASTER ROUND:
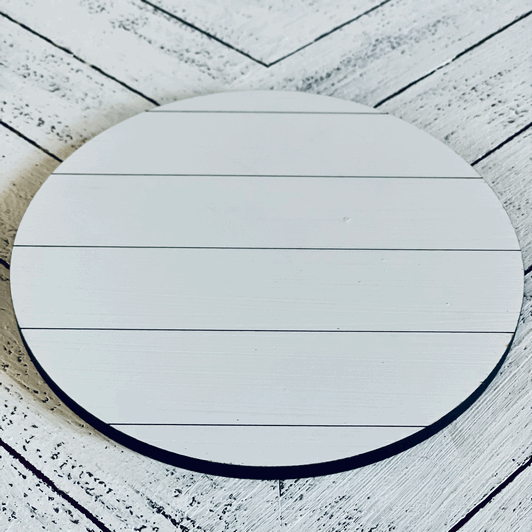
When your shiplap round is dry, use a nail to scrape the dry paint out of the lines.

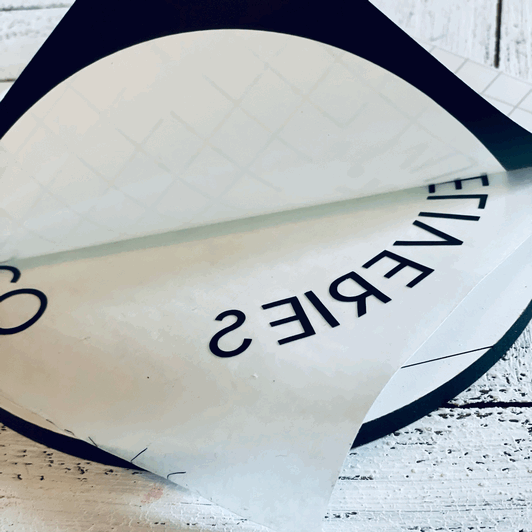
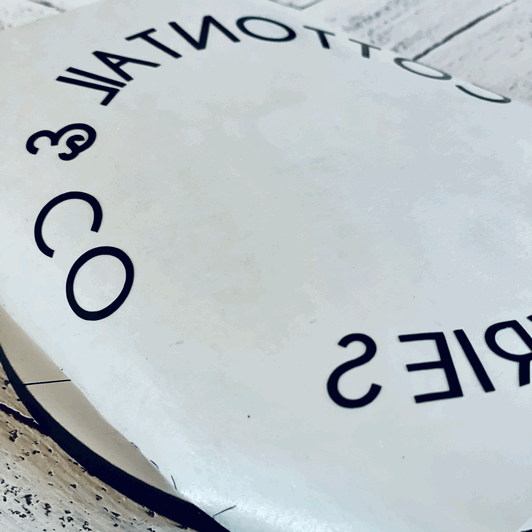
Rub both sides of your transfer with a credit card or ruler.
Place the transfer face down, with the grid layer on top.
Remove the thick GRID layer.
Do this slowly. If any black lettering comes off with your grid layer, close it up and rub it more.
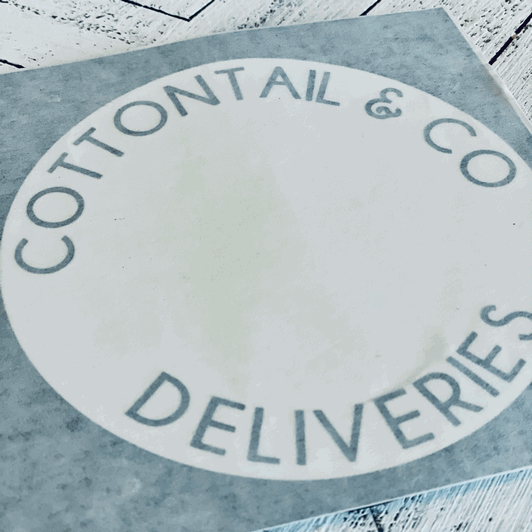
You will be left with a sticky white connective layer, with your transfer decal.
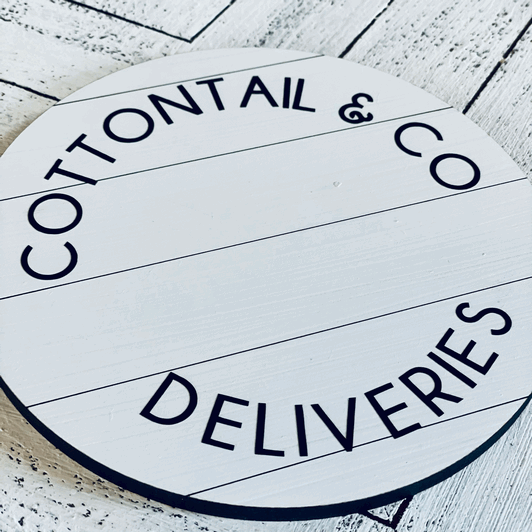
Position the decal sticky side down on your wood round, making sure that it is centered correctly.
Using a credit card or ruler, rub the decal onto the wood.
Carefully peel away the white connective layer.
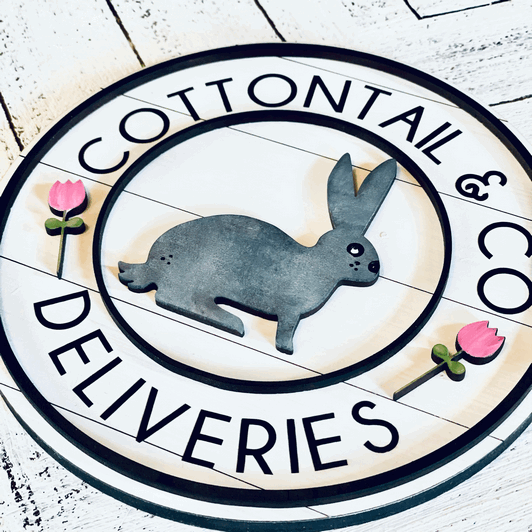
Admire your work!
This is the unpainted wood cutout on your decal.

Use a sponge or fine brush to dab paint onto all your elements.

Dab the sponge into black and white paint to give your bunny some texturing.

Use the flat end of the zinc nail to dab a black paint dot onto the bunny for a nose and got for the eye.
Dipping the sharp tip of the nail into white paint, add a spot of shine to his eye.
Wipe the nail, and dip the sharp tip into black paint for the whiskers.
Paint the tulips and carrots in whatever colors you like!

Glue the dried elements onto your wood round using a very small amount of glue. Unless you have the self-adhesive version, in which case, peel off the sticker backing and attach the pieces directly to your board.
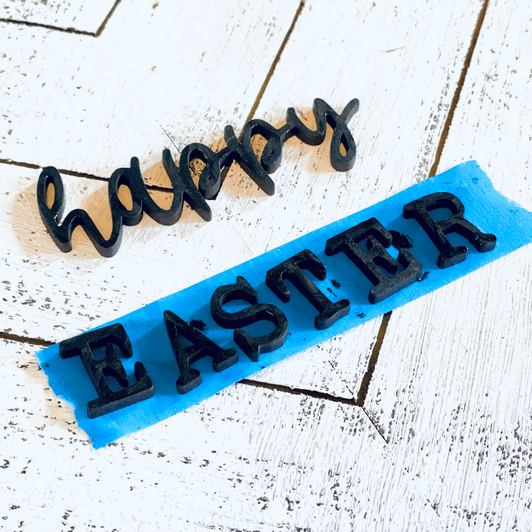
HAPPY EASTER TAG:
Separate out your happy Easter cutouts. To make painting small items easier, place them right side up to the sticky side of masking tape. This will prevent them from flipping over while you paint and it'll save your fingers from getting colored!
Using a sponge wedge or fine brush, apply a thin coat of black paint to the letters.
Do not overload the brush/ sponge.
Allow the lettering to dry.
Attach the lettering to your dry tag with a sparing amount of glue. I like Aleene's Turbo Tacky glue, which dried fast and clear, but you can also use wood glue or superglue. * Unless you have the self-adhesive version, in which case, peel off the sticker backing and attach the pieces directly to your board.

Tie string through the hole in the tag and knot!
I hope you had fun creating this Easter collection! Thank you for joining in the art experience! Please share photos of your painted art kit on social media with @threeandme or send them to me directly at claire@threeand.me. I'd love to see your work!

Wishing you and your peeps a Happy Easter!











Comments